Posts

Showing posts with the label Toolkit workshop

Throwing animation

Image
In this lesson we had to animate a character throwing a object. Firstly by doing a soft throw and then a longer throw.

Toolkit 1: Animation: lesson 8-The run cycle

Image
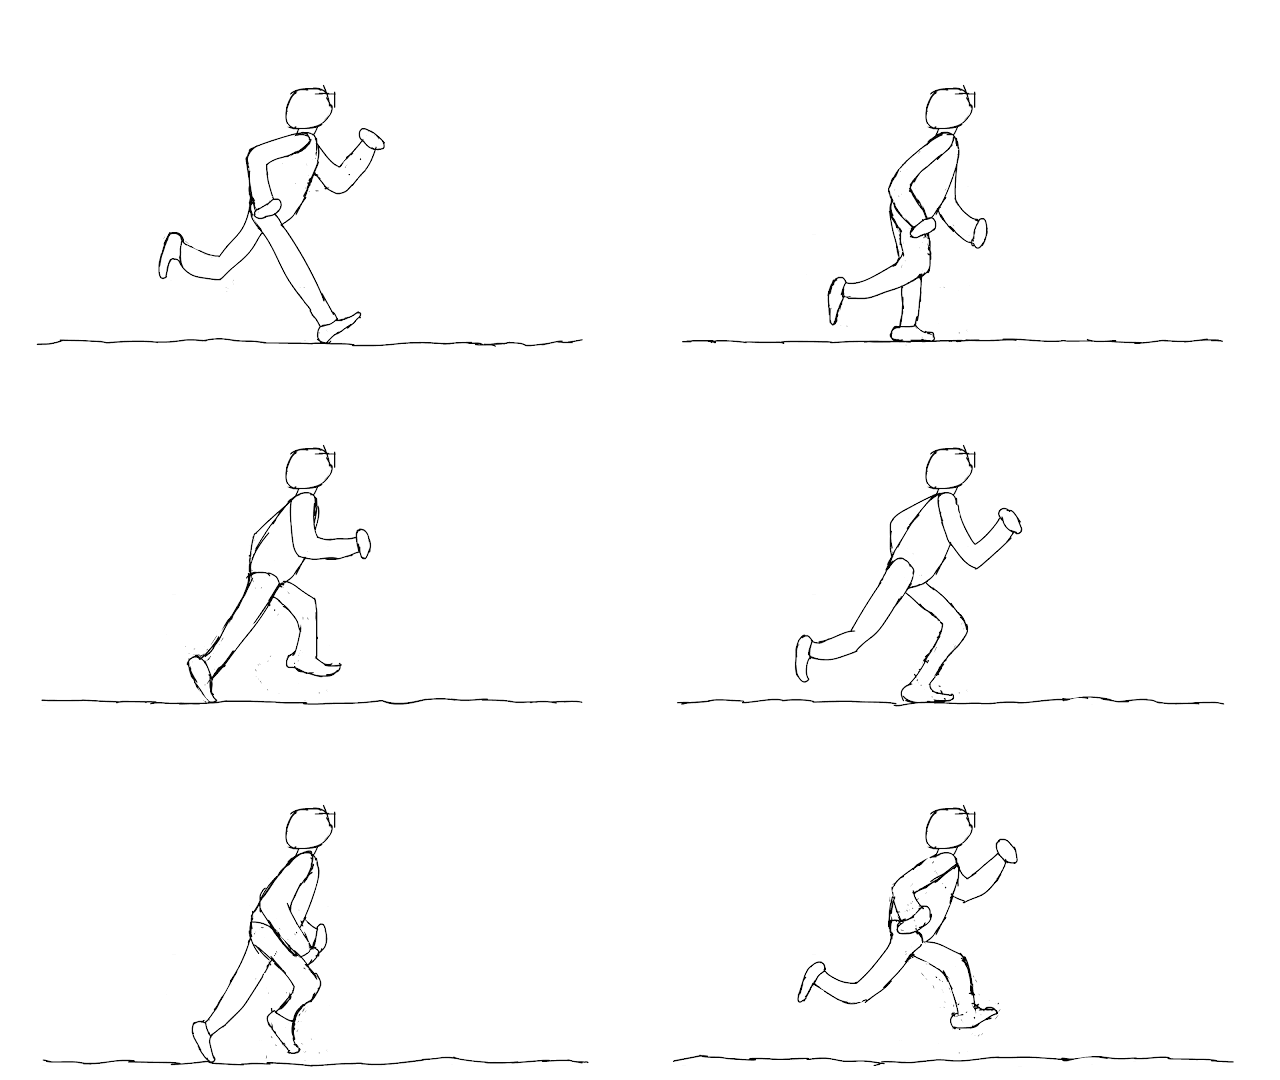
I found the run cycle a lot easier then the walk cycle for some reason, maybe because there are less frames. Each step for the run cycle is only 6 frames long which means the entire cycle is 12 frames which is because it creates the illusion that the image is moving faster then if there where more frames. Regardless much like the walk cycle the arm that moves forward is opposite to the leg that moves forward. I also made it look like the ground is changing.

Toolkit 1: Animation: lesson 7-The walk cycle but silly (Updated)

Image
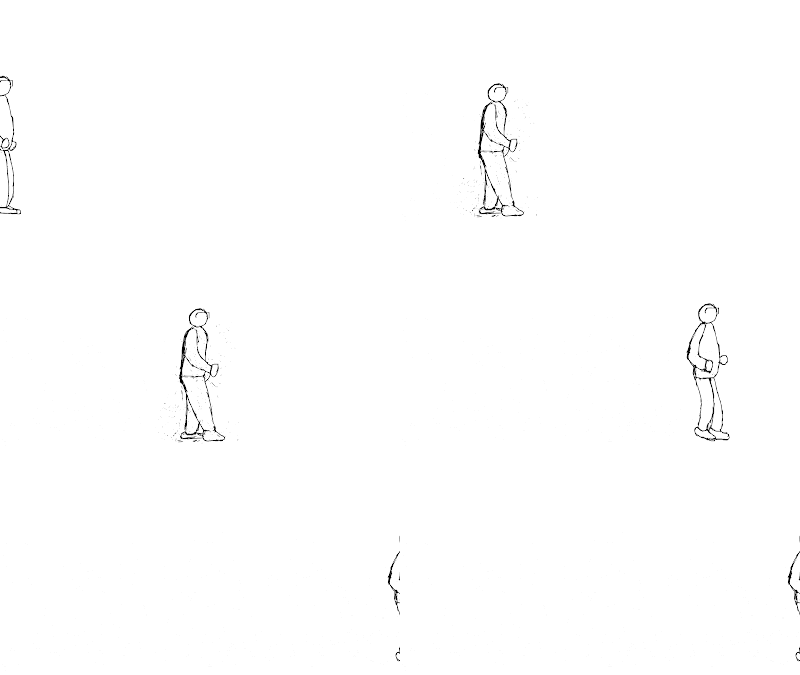
Todays lesson was also on walk cycles much like the last one but with a difference. We had to film are selfs doing a strange and silly walk first. Which then had to be animate in animate. I still have trouble with walk cycles so I dot know how similar these will be.

Toolkit 1: Animation: lesson 6-The walk cycle

Image
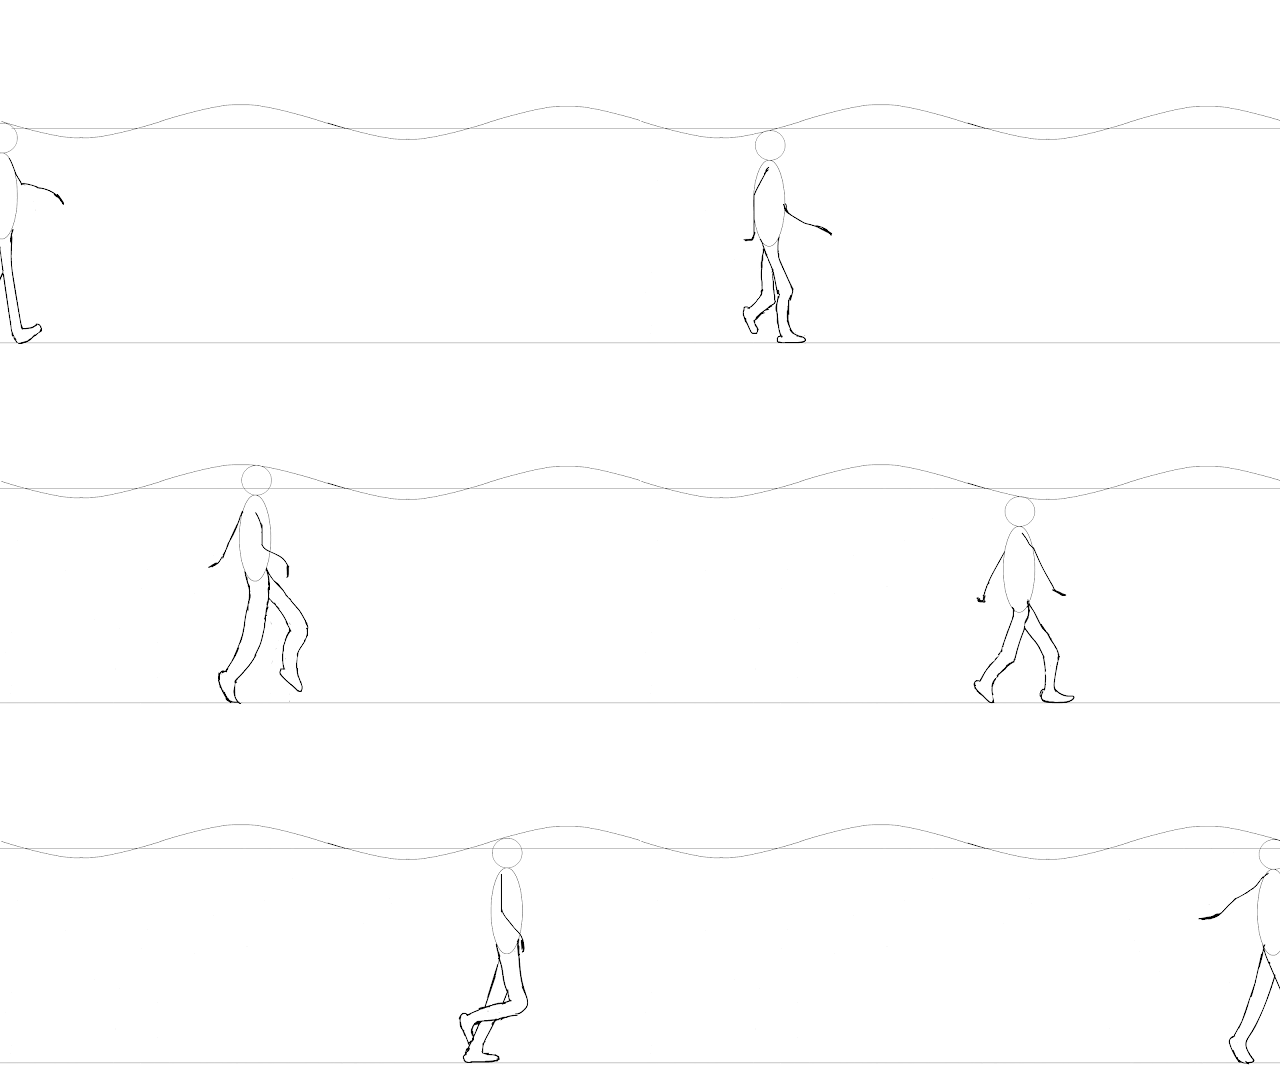
Moving on from the last few lessons, we moved on to walk cycles which is probably the hardest animation for an animator to do which ironic considering how common they are. One step is 12 frames long which means two steps is 24, however these walk cycles are 13 frames long per a step because of spacing issues. The top GIF is where every pose for two steps has been made but they are positioned at an even distance that makes it look like the character is sliding on ice skates rather than walking. Beneath is the second GIF where those two steps have been layered on top of each other in two places to make the character walk more normal. I am confident I understand the different poses that make up a walk, walking is essentially where we fall and catch are selves with the other foot. The arm that swings forward is the opposite to the leg that is moving forward. As covered from Disney 12 principles of animation, every movement has a curve to it which can be seen here in the arms and how...

Disneys 12 principles of animation

Image
The 12 Principles of Animation Squash and stretch Where a person or object is drawn to look like they stretch by getting longer in mid air and then squash by by getting flatter when they land. This is all done without changing the original size of the object. It creates an illusion that the drawings have some form of weight to them when they don’t  they are drawings. The squash and stretch is usually demonstrated with a ball which I will use the one I made in the lessons as an example. The ball stretches in mid air by becoming longer until it reaches the highest points of the jump where the shape returns to its normal round shape. When the ball lands it squashes in one frame to make it look like the ball has some form of weight when it does not. Anticipation The anticipation is the build up to an important action such as a character about to run or throwing a ball. Usually done by having a shorter action happen first such as stepping back before runn...

TOOLKIT 1: Animation: Lesson 5-Halloween scene

Image
The original file for this GIF was too big for blogger so I had to lower its quality to decrease the file size, so some of the colors may look weird. Otherwise this is the animation for the most resent adobe animate lesson. The goal was to use all the skills we learnt in the previous lessons to create a halloween themed scene showing them. Most of the assets besides from the tentacles where made in photoshop and exported in. The large eye at the beginning is going  at a constant speed while the two smaller ones in the middle are speeding up and slowing down, these represent time and spacing. The tentacles move which represents the moving parts. The larger eye and smaller one fall at different speed and bounce a different amount of times, these represent arcs and that different size objects fall at different speeds. Finally the smaller eyes squash and stretch.

Research on Bill Plympton and Richard Williams

Bill Plympton and Richard W... by Charlie on Scribd

TOOLKIT 1: Animation: Lesson 4-Bouncing character

Image
This weeks task was to take the bouncing ball we made last week and convert it into three different character with a moving part. The blue one has two small ears, the orange one was meant to be a fox but I think it looks more like a gold fish and finally the red one has legs. These are not perfect however, the blue ones ears don't move enough for example. The Orange ones tail sticks up a lot at the end of its animation.

Research on Lotte Reiniger and Don Hertzfeldt

Animation Research by Charlie on Scribd

TOOLKIT 1: Animation: Lesson 3-Bouncing and dropping balls

Image
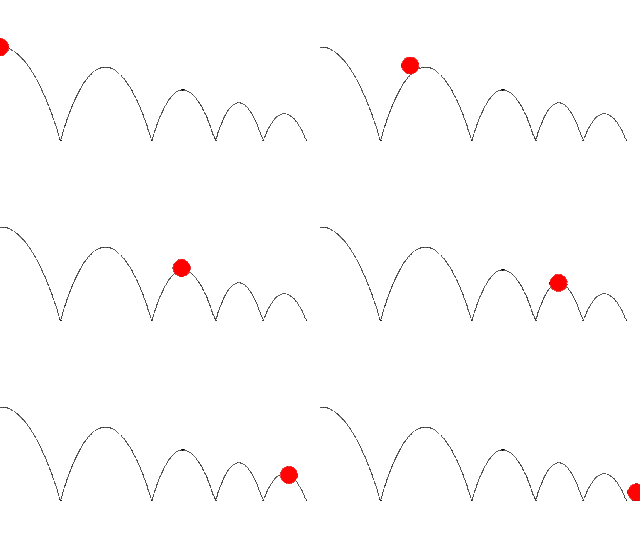
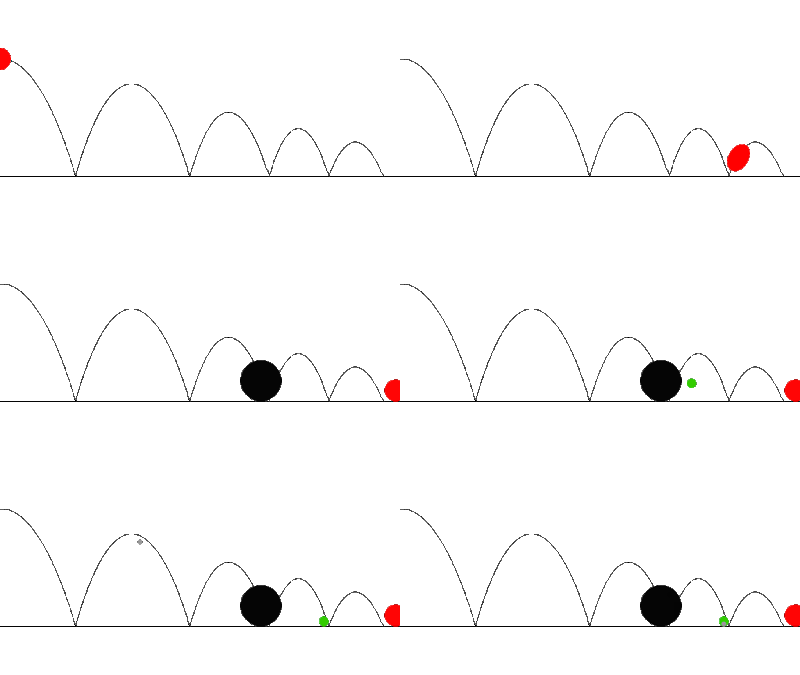
Todays lesson was about applying time and spacing from last lesson along withe some cartoon physics. The GIF shows a ball bouncing across the screen as well as a bowling ball, tennis ball and a pingpong ball being dropped. As the balls reach the height of there bounce the spacing between the frames get smaller until the decent where they get closer together again. This leads up to the timing part of the bounce where they make contact with the floor.

TOOLKIT 1: Animation: Lesson 2-Coin and pendulum

Image
In this lesson we used animate to demonstrate the importance of time and spacing within an animation. Spacing refers to how far apart each frame is in an animation, timing refers to the starting and finishing positions of the objects. To demonstrate spacing one coin and pendulum are moving along the lines that are spaced out evenly. The other coin and pendulum are easing in and out where they start by moving slow but then speed up as they get to the center in which case they gradually slow down again. Timing is demonstrated as every coin and pendulum have the same amount of frames which means they will all end at the same time as well as the same spot despite that the spacing is different.

TOOLKIT 1: Animation: Lesson 1-Face Morphs

Image
This is a short GIF that we I made in Adobe animate which is an animation software used to create 2D animation, every frame was hand drawn an there are 85 frames at 24 frames per a second.To transition between each object I used onion skin mode to show the frames before and after the one I am on in blue if it before and green if its after The animation shows a picture of me turning into an Orange that turns into an Elephant which inevitably turns back into me again. I am not use to drawing on a tablet so my lines are questionable at times whether to thick or thin that, that said I don't think they effect the overall animation. Otherwise I think the animation goes too quick which could be helped by adding in more in between frames.