Posts

Showing posts with the label Invisible cities

Reflective statement for invisible city's project

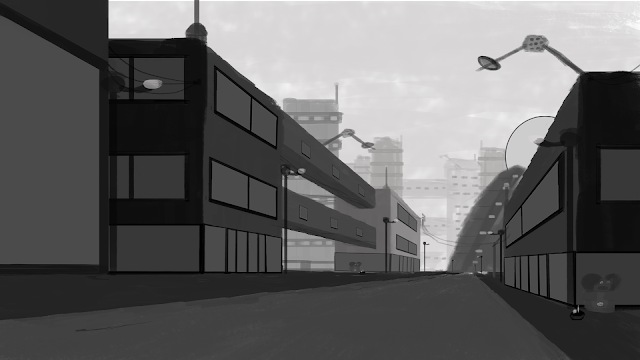
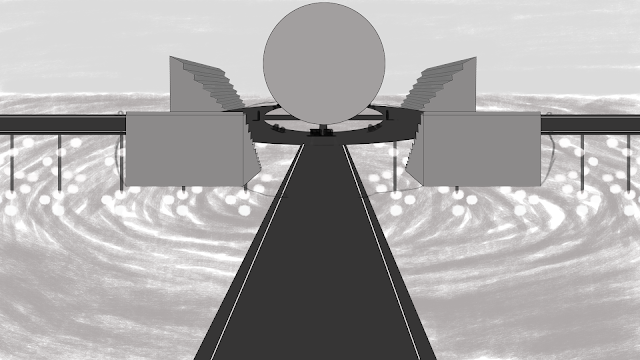
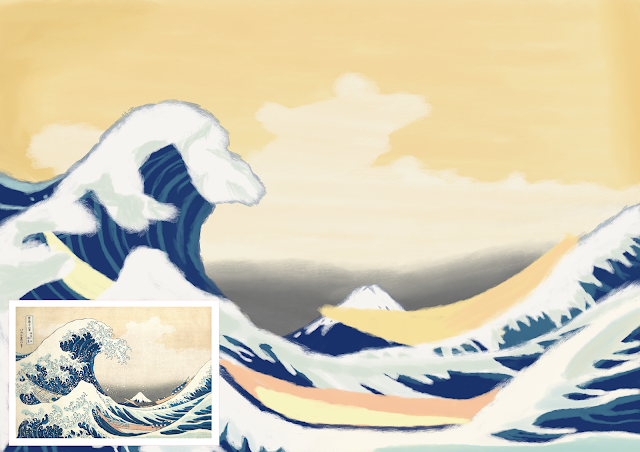
The first project of the course was tough as there was a lot of tasks to do. I had trouble with time keeping as I didn't do as much work in the first week as I could off.Thee is also the problem that I am not that fast at digital painting so they took much longer then they should have. Otherwise I had trouble with perspective as it is a new concept for me that I am not familiar with and therfore only did one point perspective. The rest of the tasks for the project I didn't have any trouble with. Time keeping skills can definitely be improved. I could also attempt to use more forms of perspective such as two or three point.

Invisible city's presentation

Invisible Citys Final Prese... by Charlie on Scribd

Invisible city's art of

The Making Of by Charlie on Scribd

Final concept art pieces

Image
Here are the final pieces of concept art for the invisible city's project, I chose Fedora as my city of choice. The final pieces com in the form of an exterior establishing shot, a low angle exterior establishing shot and finally an interior establishing shot. The two exterior shots show the main museum that is the main focus of this city and the interior shows the inside of the museum.

Lego Vehicles animated

These are videos made in after effects using the animations for the lego vehicles we have been making in Maya. They have had some blur and color correction applied to them but otherwise are the same.

Exterior establishing shot work in progress

Image
This is the Exterior establishing shot I am working on for the invisible city's project. For this shot I chose to use a different angle of the museum that is the center piece of the city. It still requires color but otherwise is done.

Exterior low angle establishing shot work in progress

Image
This is the Exterior low angle establishing shot I am working on for the invisible city's project. For this shot I chose to use the perspective of a street to emphasize the size of the buildings based of brutalist architecture. It still requires color but otherwise is done.

Interior shot work in progress

Image
This is the Interior shot I am working on for the invisible city's project. For this shot I chose to use the inside of the museum as that is probably the most interesting Interior. It still requires colour but otherwise is done.

Invisible city's project Influence maps

Image
These are the influence maps I made for the invisible city's project using pictures from the internet. Two of them are specifically for the exterior and interior establishing shots. The third one was for brutalist buildings as I had trouble coming up with different kinds of buildings.

Photoshop Lesson 4

Image
This weeks Photoshop lesson mainly consisted of just continuing with our final pieces for the invisible city's project. Other wise we where shown where we can download a large selection of brushes to use for making the final pieces which leads to this image I created using some of the brushes while I was figuring out what the brushes do. This entire image only took me 10 minutes to make because they are all made with specific brushes. For example the trees where made using a brush that created trees, the grass was made with a brush that just made grass etc. Probably the best take away from this is a brush that makes instant snow as there is one for rain as well which I will actually use on my final pieces

Who's Who task: James Clyne

James Clyne by Charlie on Scribd

Research for the Invisible city's project

Invisible Citys Research by Charlie on Scribd

Animating and rendering a Lego car with Maya

Image
The actual animation part of the lesson was short as there is only so much you can do with a lego car at this stage. To make the car move, keynotes where used on a time line similarly to using keynotes in after effects. The only real difference is that every movement in Maya has its own curve that determines its movement speed which needs to be checked on at each stage. Most of the lesson was spent on making sure the car animation renders with as good quality as possible beginning with changing the ground plane to a wooden table using a picture ow wood which was provided. The background was changed to a HDR using a sky dome and another picture that was provided. It is the HDR providing the light for this picture. A separate camera was created to render from as it allows me to make adjustments to the car without changing the perspective. The main problem with the original render was that there was a lot of noise in the picture, making parts of the car at a lower quality so a large amo...

Point perspective exercise

Image
The perspective exercises showing point perspective in different pictures. From what I gathered from my research, point perspective is done by finding and establishing vanishing points in a picture which is where several straight horizontal lines converge on a point which is the vanishing point. The points are on a horizon line which is found on the point where the land meets the sky or the horizon. The one point pictures only have one vanishing point which I have shown with red lines which show how large a object should be from that distance. Two point is more or less the same except there are two vanishing points on both the left and right with there own sets of lines as shown by the computer tower. Finally three point is the same as the last one except there is a extra vanishing point that is either above or below the object as shown by the computer tower again. The more points of perspective there are the more space is in the image.

Master study 3

Image
For the last master study I chose to do one of Turners painting which is called Italian landscape with bridge and tower. The idea of these is to try and recreate the colors used in the painting, this was the hardest one to make out of them as recreating the colors for the foliage was difficult. The yellow parts to be specifically such as in the closest tree. Th actual sky and background where probably the closest parts to the original. the background behind the tree was also the fastest part to do as they required little detail but still resemble something being there which shows the further back something is in the picture the less detail needs to be put into it as you wouldn't be able to really see that detail anyway.

Master study 2

Image
Continuing from the last master study I chose to try something a bit different that could potentially be more oriental. As of such I chose to do one of Hokusai's famous prints the great wave. The idea of these is to try and recreate the colors used as accurately as possible. Lookin at this now I think the colors for the water and boats are pretty close to the original The sky on the other hand looks to saturated when compared to the original that is more pale.

Photoshop lesson 3

Image
As we are moving on from the initial thumb-nailing stage we where taught more about color and composition in this lesson. This is for the final set of thumbnails and the final pieces themselves. I briefly know about color theory but have nether been taught it so this was useful for me, composition on the other hand has never been shown to me so I found that part quite enlightening. After wards we had to do a color study on a landscape artists where the goal is to recreate the colors of a landscape painting as accurately as possible. Which brings us to the a both image where I was truing to recreate the colors for the painting Nocturne: blue and silver-Chelsea by James Abbott Mcneill Whistler. I picked this one because I like how the reflection of the buildings could be seen in the water. This exercise was more about finding the right colors than accuracy which is why I wasn't too concerned with the proportions. For the most part I think the colors are pretty close to the original...

Riging a Lego Van in Maya

Image
This is the same Lego van from before except I have made some changes to the design as well as rigid it for animation. Probably the most obvious change to the design is the color, I changed it from green to red which makes it look like a mail van. I moved the windows up two blacks and put 4x1 in front where the class used to be as I felt the glass looked out of place in the original version. As mentioned before this van has been rigid so that when the vehicles is moved forward, the wheels turn as well based on how fast the van is moving. This was done by putting in a circle around the van to act as a controller as well as using code.

Charlie Whiffing OGR for invisible city's project (16/10/2019)

Links to Film reviews and CG artist toolkits: https://charliewucablog.blogspot.com/search/label/Maya https://charliewucablog.blogspot.com/search/label/photoshop%20tutorial https://charliewucablog.blogspot.com/search/label/Film%20review https://charliewucablog.blogspot.com/search/label/Toolkit%20workshop

Texturing a lego van using Maya

Image
I was originally going to use a truck as my second vehicle but decided to simplify it to a Van mainly because a truck would require a lot more riging and animating. Mainly due to the fact it is in three parts being the front of he vehicle where the driver is, the back that holds the cargo and finally the part that connects the two. Animating is already a hard and tedious proses without me over complicating it. All of that lead me to making this van instead that I made green to resemble the car I made last time. Looking at it now I already see three problems with it that are the fact it is floating, you can see the void and the two block a both the windows could also be made into windows. All of those are easy fixes I will apply when I do the riging for the Van.