Posts

Showing posts with the label Maya

Using crane and Dolly in Maya

In the first video I was using an artificial Dolly to move the camera from one place to another. Dollys are often used in film making to provide a platform for the camera to be mounted on as well as having a track so the camera can move between several positions at a fast speed without it shaking in the process. Crane shots as shown in the second picture are performed in a similar way except the camera is mounted on the end of a crane that is also on a mounted platform, these don't always have tracks but they allow fro the camera to reach a high perspective without shaking the camera in the process.

Using the pitch shot in Maya

Using the Roll shot in Maya

Using the panning shot in Maya

Todays lesson was about looking at different camera shots and applying them in maya, the first of which was the panning shot. The panning shot is simply moving the camera from left to right or vice versa as can be seen in this scene. Here the camera is rigged and has extra channels for different movements. One of which is labeled as pan which was used here by first creating a keynote for where the character first emerges with the camera pointing at them. I then did the same on the frame where the character goes through the door, for every frame in between the camera will move from facing one door to the other door.

Finishing the chicken coop in Maya

Image
This is the finished render of the chicken coop that has been textured and had a sky added along with a light wrap. All of the textures where made in photoshop using the UV's as a template so the right textures appeared in the right places. The barn and coop textures consisted of some distorted lines added while the floor uses textures to separate the lighter parts from the darker ones as well as have some dots added. The actual sky was made in Maya using a sky dome with a gradient added to separate the different shades of blue however, this also adds a blue tinge on the environment so the sky was rendered and saved as a separate image from the actual scene. In photoshop they where put on two separate layers.

3D set scene lighting

Image
Here I have finished the lighting for the 3D set by mostly using glowing textures for the lamp posts and windows. The only other actual lights are a directional one to represent the sun and a dome for general lighting. While the scene doesn't take place at night it is over cast with rain clouds. One of the side walks is reflecting the objects next to it for some reason, not intentional but could be used to slightly reflect objects as the pavement is wet. There is a lot of noise that I need to get rid of but all that left is to block in the color and texture it, the UV's are already done so it should just be a mater of filling the in.

Final Scene for what if metropolis work in progress

Image
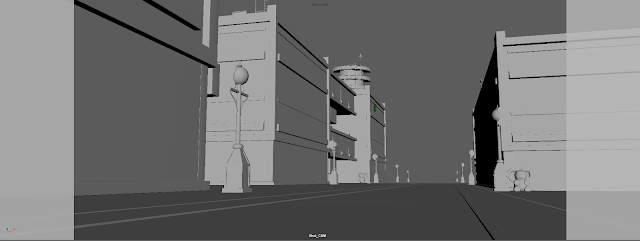
With most of the UV's finished I spent most of today putting together the final scene based off the concept art I did for Fedora. The main problem I had was recreating the perspective I used in the concept art which required me to arrange the objects differently. That large tower in the distance is much farther away then it looks and isn't touching the ground as here you cant see most of it. The lamp posts are not in a straight line either because when I did that they didn't match the concept art. Only two objects are missing from this scene and then the lighting and textures can be applied.

More finished models in maya

Image
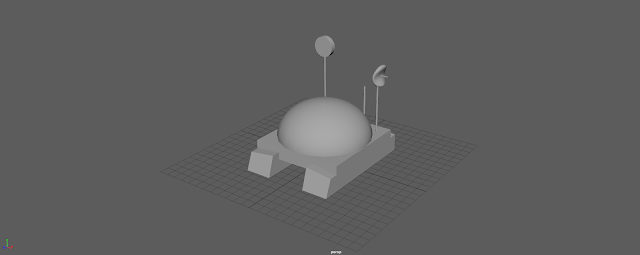
Wit these there is only one more model that still needs to be made being the museum that is a background object so shouldn't take as long. Picture one is the cleaning robot that will be quite small in the image so I don't think it will require much detail. Picture two is the road which will be the floor for the 3D set, for some reason I forgot I would need to make this. The last picture is off the towers which are far away from the camera and hence wont require much detail.

Lamp post and elephant bin work in progres

Image
Besides UV,s and the fact they are halve of there former selves these two models are nearly done. Which leaves three to go of which two of which are halve done and are background models that wont require any where near the same amount of detail as these ones. For the lamp post I was shown how to make the ear and I replicated that for the bin by starting from a plane and using as few edge loops as possible to get the right shape which was then smoothed. That plane was then extruded and beveled to keep the shape. The trash goes down the ears of these bins so I made a hole by putting down two edge loops and extruding in the faces, I wanted the hole to curve so no other geometry was needed. The two curved parts on the lamp post where done in a similar way.

The Elephant bin object work in progress for the 3D scene in Maya

Image
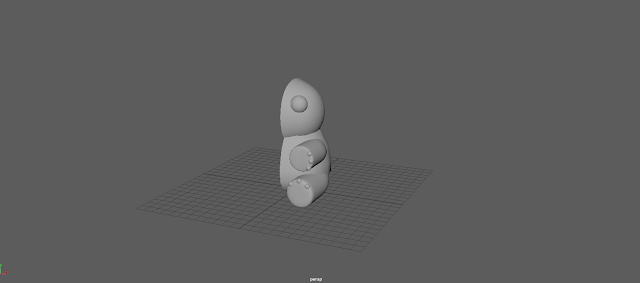
Out of all the objects I have to make for this project, the Elephant bin is probably the most tricky due to its more organic shape when compared to the other models I have made up to this point. Here all the parts have been made except for the ears. The body and head where made from a cube that is smoothed and re shapes sightly with a lattice. The arm and leg are made from cylinders that have been smoothed. The eyes and nails are made from just a basic sphere.

Assembling the chicken coop scene in Maya

Image
After making all the off the assets for the scene separately we imported them in to one scene using a top down map orthographic. Most of the objects had to be scaled to the right size. The lighting for the scene was applied in to forms, a directional light source to represent the sun and a sky dome for the general lighting. Both of which produced the shadows in the scene. Basic colors have been blocked in but the coop, floor and barn still require texturing.

Hero object building work in progress for the what if metropolis project

Image
This is the mane hero object that will be in the 3D scene that I am still working on. I have made halve of so I can do the UV's for halve the objects and the mirror them over after wards to save time. By this point all the objects geometry have been decided up ad I am halve way through the UV's. I encountered some problems such not being sure how to make the windows. I initially tried to cut them out of the base of the building but that distorted the geometry so instead I made separate pieces out of cubes for the windows that I then divided up and extracted. When I was making the barn scene in preparation for this the orthographic where actual screen shots of a finished version that made then completely accurate, however working from separately drawn ones I have found is not as accurate as one is slightly of from the other meaning I occasionally need to turn them of and match the parts up to the actual model. Encountered a strange problem where for some reason I cant put edge...

Making a floor plane and fence in maya

Image
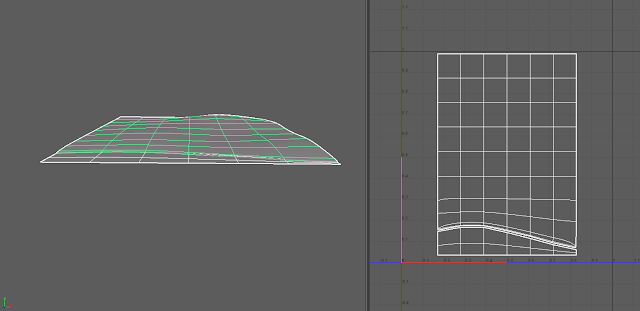
The chicken coop scene requires a floor with a beach and some small hills which is what this is. Creating this piece is probably the easiest model I have made in Maya, I started with one floor plane roughly the same size for the grass that was raised slightly and the edge beveled down. Followed by a second just below it for the sand. The hills where made by soft selecting different vectors and raising them. The fence was only difficult until I worked out that it was leaning as you can see the side of the planks in the top down view. Otherwise this was just simply about turning more cubes into the right shapes and adding edge loops in. Didn't need to do the UV's for this one either.

Finished chicken coop in Maya

Image
The chicken coop we started a few weeks ago is mostly finished, besides the colors of course. The parts that are actually in color where provided. For the most part this was just about mirroring what the halve we already had as well as adding in the center plank for the floor. The UVs have also been made for the pieces which where separated based on which of the two colors they where going to be.

Laying out the UV's for the barn in Maya

Image
Doing the UV's for the barn was not difficult, the process is fairly straight forward. It just takes a long time and a lot of it is repetitive. The general process is that the objects that the UV's need to be done for are unfolded like a net for a cube, straighten them out and rotate them so they are the right way up. They also need to be modified so they are the same size and fit into one of the cubes on the grid. As this is a background object that will be further away from the camera, this is where it ends for this part as not as much detail needs to go into them. 

Modeling a barn house in Maya

Image
As part of the test scene we are making in Maya as preparation for creating are actual 3D scene we made barn houses. The barn house will be in the distance of the scene so not as much detail needs to be put into its model. Only halve of the structure was really made while the other halve was mirrored across. The base of the structure started as one solid object before edge loops and the cutting tool was used to make the holes as well as making sure all the shapes are quads or triangles if they had to be. Every beam was made individually starting from a cube had to be beveled to smooth the edges and have edge loops put in to divide the objects for when the textures are put in. At this point I understand how 3D structures and objects are made. The base starts as one structure that is extruded onto separate and cut to make the holes. From their all the side parts such as the beams are molded from cubes separately.

Building a chicken coop in Maya

Image
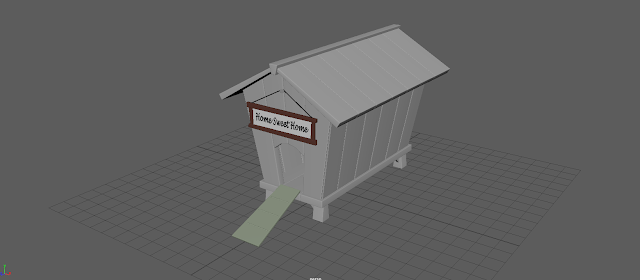
In preparation for making are chosen concept art pieces into a 3D scene, we are creating another scene first which includes this chicken coup. It is currently halve done as most of the parts are using the same UVs. As of such it is easier to do the UVs now before mirroring the components then to do them all individually. By the time I finished the base part with the separate planks I found that sculpting the other individual parts was straight forward as well as using the edge loop for the textures. Only had trouble with the base as there was multiple parts to it. This exercise helped show me that everything being modeled starts from basic shapes that are made into the right shape using the templates for reference.

Lego Vehicles animated

These are videos made in after effects using the animations for the lego vehicles we have been making in Maya. They have had some blur and color correction applied to them but otherwise are the same.

Animating and rendering a Lego car with Maya

Image
The actual animation part of the lesson was short as there is only so much you can do with a lego car at this stage. To make the car move, keynotes where used on a time line similarly to using keynotes in after effects. The only real difference is that every movement in Maya has its own curve that determines its movement speed which needs to be checked on at each stage. Most of the lesson was spent on making sure the car animation renders with as good quality as possible beginning with changing the ground plane to a wooden table using a picture ow wood which was provided. The background was changed to a HDR using a sky dome and another picture that was provided. It is the HDR providing the light for this picture. A separate camera was created to render from as it allows me to make adjustments to the car without changing the perspective. The main problem with the original render was that there was a lot of noise in the picture, making parts of the car at a lower quality so a large amo...

Riging a Lego Van in Maya

Image
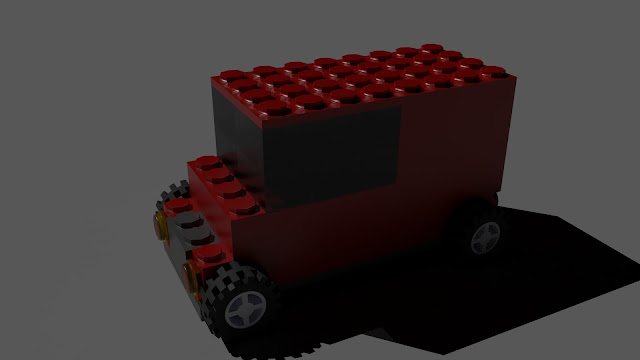
This is the same Lego van from before except I have made some changes to the design as well as rigid it for animation. Probably the most obvious change to the design is the color, I changed it from green to red which makes it look like a mail van. I moved the windows up two blacks and put 4x1 in front where the class used to be as I felt the glass looked out of place in the original version. As mentioned before this van has been rigid so that when the vehicles is moved forward, the wheels turn as well based on how fast the van is moving. This was done by putting in a circle around the van to act as a controller as well as using code.